
You’re all set for some serious device management — maybe updating, restoring, or syncing your iPhone or iPad using iTunes — when suddenly, you hit a wall: iTunes Error 9. This mysterious and frustrating message is vague at best, halting whatever process you had in progress. But fear not — this common iOS issue can usually be solved with a few smart tactics. In this article, we’ll break down exactly what Error 9 is, why it happens, and most importantly, how you can fix it quickly to get back to enjoying your favorite tunes and apps.
What Is iTunes Error 9?
Error 9 is a security software or hardware-related error that interrupts communication between iTunes and your Apple device during an update or restore. When this happens, iTunes can’t continue with the process, and you’re left with a non-responsive phone and an annoying pop-up message. Essentially, it means something is blocking iTunes from establishing a stable connection.
Error 9 might happen during:
- Restoring an iPhone or iPad to factory settings
- Updating iOS through iTunes
- Trying to recover data from a corrupted backup
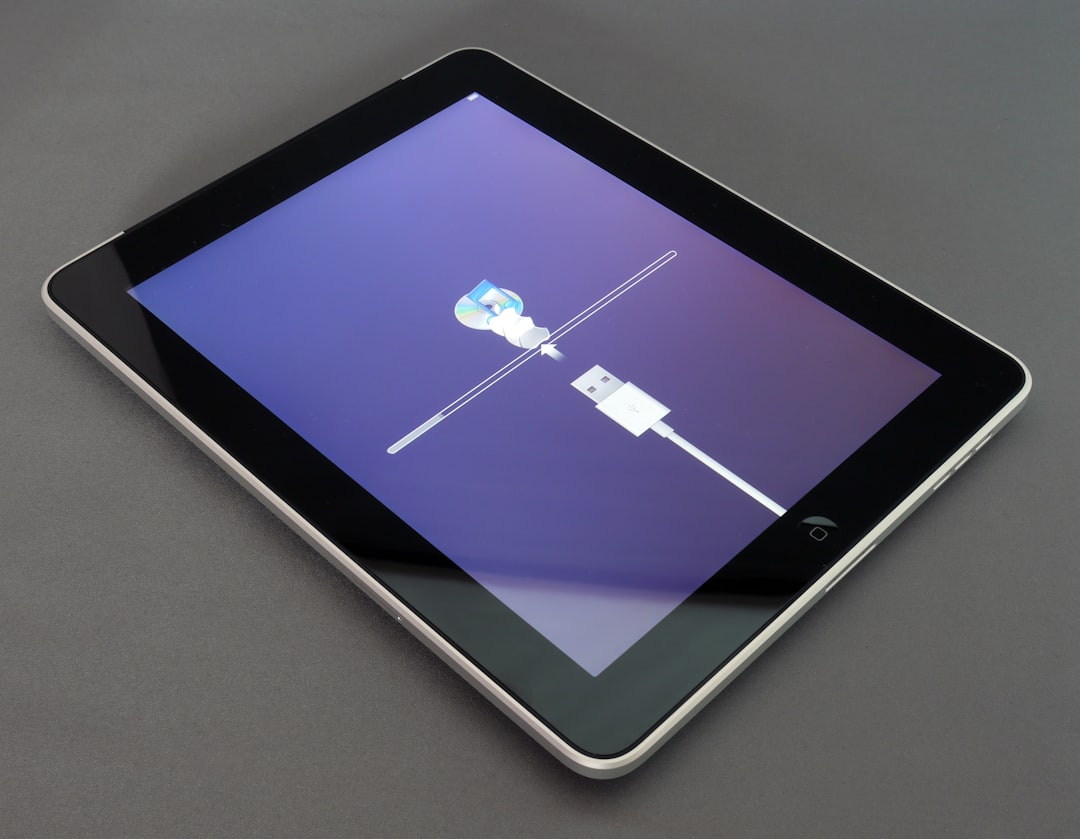 itunes error, iphone restore, usb cable, computer</ai-img]
Top Causes of iTunes Error 9
To fix Error 9 quickly, you’ve got to understand what’s causing it. Here are the most frequent culprits:
- Faulty USB connection: Maybe your cable is damaged or your iPhone isn’t properly connected.
- Firewall or security software: Overprotective firewalls might block iTunes from accessing Apple servers.
- Outdated iTunes: If your version of iTunes is obsolete, it might conflict with newer iOS versions.
- Software conflicts: Third-party programs or drivers interfering with iTunes functionality.
- Hardware issues: Sometimes a problem with the iPhone hardware, like a bad NAND chip, can trigger the error.
How to Fix iTunes Error 9 — Fast!
Here’s a step-by-step guide on how to quickly resolve the error and continue with your tasks.
1. Check Your USB Cable and Port
Start with the obvious but critical component: the USB cable and port. Make sure you’re using a genuine Apple Lightning cable and plug it into a different USB port on your computer. If issues persist, try a different computer altogether.
2. Update iTunes
Using an outdated version of iTunes can cause compatibility issues with newer iOS firmware. Open iTunes and go to check for updates under the Help tab (Windows) or the iTunes menu (Mac). Installing the latest version may instantly solve the problem.
3. Restart Your Devices
Sometimes the fix is simple: restart your iPhone/iPad and your computer. This can eliminate temporary software glitches disrupting communication.
4. Disable Security Software Temporarily
Your antivirus or firewall settings might be overzealous. Try disabling them just long enough to complete your update or restore. Don’t forget to turn them back on once you’re done!
firewall settings, antivirus, computer interface, security software</ai-img]
5. Use Recovery or DFU Mode
If nothing else is working, try restoring your iPhone in Recovery or DFU (Device Firmware Update) Mode:
- Connect your device to the computer and launch iTunes.
- Follow Apple’s instructions for putting your device into Recovery or DFU Mode.
- Once iTunes detects the device in this mode, choose Restore.
6. Consider a Third-party Repair Tool
If you’re still stuck, several reliable third-party tools like ReiBoot, Dr.Fone, or iMyFone Fixppo can repair iOS-related issues without data loss. These tools often bypass complex iTunes errors and restore your device to working order quickly.
Preventing Error 9 in the Future
Most iTunes Errors stem from avoidable problems. Here’s how you can prevent them:
- Always use original, certified Apple cables.
- Keep iTunes, your operating system, and iOS devices updated.
- Regularly back up your device to avoid data loss during issues.
- Use reputable antivirus software that doesn’t block iTunes processes.
itunes backup, iphone usb sync, software update</ai-img]
Wrap-Up
iTunes Error 9 might seem like a daunting roadblock, but with a few smart steps and proactive maintenance, you’ll be back up and running in no time. Whether it’s updating iTunes, switching USB cables, or using specialized recovery tools, there’s usually a fix around the corner. Stay patient, systematic, and soon your tunes will be playing just like they should!