
If you’re diving into the world of smart home automation, there’s a good chance you’ve come across Home Assistant. It’s an open-source platform that allows users to control, automate, and personalize their smart home environment. A major advantage of using Home Assistant is its robust integration with GitHub, where thousands of developers share ready-to-use components, scripts, and custom configurations. But how exactly do you bring those GitHub files into your Home Assistant project? This guide walks you through the step-by-step process, making it easy even if you’re not a command-line pro.
Why Use GitHub with Home Assistant?
Before we jump into the steps, let’s get a quick look at why GitHub is essential for Home Assistant users:
- Access to community-created resources: GitHub hosts a vast collection of Home Assistant automation, sensor scripts, dashboards, and integrations created by smart home enthusiasts and developers around the world.
- Version control: You can track changes, roll back to previous states, and manage multiple configurations with ease.
- Contributing back: Found a better way to automate your lights? Share it with the world directly through GitHub!
Now, let’s dive into the actual process of copying files from GitHub into your Home Assistant setup.
Step 1: Identify Your Target Repository
First, decide what you need – a custom component, blueprint, automation script, or something else. Once you find the right repository on GitHub (e.g., a Home Assistant custom integration), follow these steps:
- Go to GitHub and search for the feature you’re interested in, such as “Home Assistant motion sensor automation”.
- Browse through the results and select a repository that best matches your use-case and has good community feedback (check stars and forks for popularity).
Make sure the files in the repository are compatible with your current Home Assistant version. Most developers mention compatibility in the README file of the repo.
Step 2: Download the Repository
Once you’ve found the GitHub repository you want to use, you have multiple ways to download the files:
- Option A — Download ZIP:
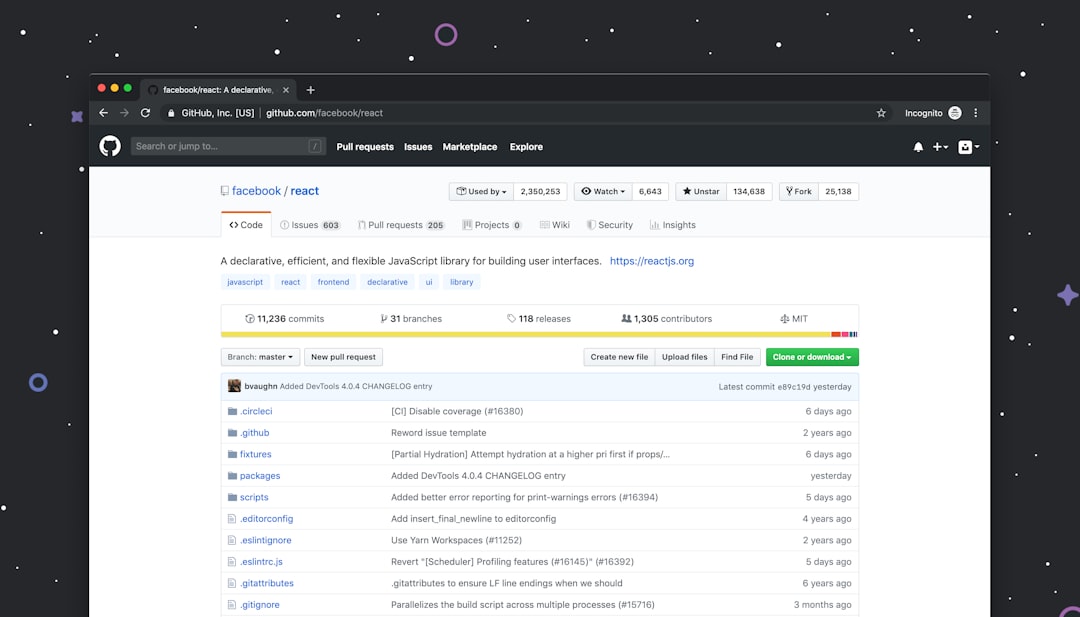
- Click the green “Code” button on the repository page.
- Select “Download ZIP”.
- Once downloaded, unzip the file on your computer.
- Option B — Use Git Commands (Advanced Users):
- Open your terminal or command prompt.
- Navigate to the folder where you want to place the repository.
- Type:
git clone https://github.com/your-repo-link.git - This creates a local copy of the repository.
If you’re not familiar with Git or prefer an easier interface, the ZIP option is generally recommended for beginners.
Step 3: Understand the Directory Structure
Now it’s time to identify where the files should go inside Home Assistant. Depending on what you’ve downloaded, the destination folders will vary:
- Custom Integrations: Place the folder inside
/config/custom_components/. - Blueprints: Move them into
/config/blueprints/. - Automations or Scripts: Extract YAML content and add it to your existing
automations.yamlorscripts.yamlfile. - Themes: Upload them to a
/themes/directory in your config and reference them in your configuration.
If you don’t see these folders already in your Home Assistant setup, simply create them manually.
Step 4: Transferring the Files to Your Home Assistant Instance
With your files in hand, it’s time to get them into Home Assistant. Depending on your setup, choose one of the following file transfer methods:
- Samba Share: Install the Samba add-on in Home Assistant and map the share on your PC. Drag and drop your files into the appropriate folder.
- File Editor Add-On: Use the built-in File Editor to create new files and paste contents manually.
- SSH: For those who prefer the terminal, connect via SSH and use the
scpcommand to transfer files.
After transferring, double-check the paths and naming conventions to ensure they match the documentation provided by the repository owner.
Step 5: Modify Configuration Files
Most integrations or components require entries in your configuration.yaml file. Open it using the File Editor or access it directly via Samba or SSH. Add the required configuration, often provided in the GitHub repo’s README file, such as:
custom_component:
  example_api_key: YOUR_API_KEY
Always make sure to validate your configuration before restarting Home Assistant. Use the “Check Configuration” option under Settings → System → Check Configuration.
Step 6: Restart Home Assistant
Changes to YAML files or new integrations usually require a restart. You can restart Home Assistant via:
- UI: Go to Settings → System → Restart.
- Command Line: Use
ha core restartif you’re using Home Assistant OS with CLI tools.
After restarting, you should see new features, integrations, or automations ready for use in your Home Assistant dashboard.

Optional: Keep the Files Updated
If you’ve cloned a GitHub repository using Git, keeping things up-to-date is simple. Navigate to the local repo via terminal and run:
git pullFor those who downloaded via ZIP, you will need to re-download and replace the old files. Be cautious, as custom changes might be overwritten when updating.
Troubleshooting Tips
- Component not loading? Check the logs under Settings → System → Logs for error messages.
- Blueprint not visible? Make sure the file is in the correct directory structure. It should be
blueprints/automation/[username]/[filename].yaml. - Icons not showing? Some repositories rely on specific frontend resources. Make sure to clear your browser cache after updates.
Conclusion
Adding GitHub files to your Home Assistant project unlocks a new level of customization and power in home automation. Whether it’s installing a custom component, trying out a new automation blueprint, or tweaking themes—GitHub is a goldmine. With a little practice, copying and implementing these files becomes second nature. Use this guide to simplify your workflow and take full advantage of what the Home Assistant community has to offer.
Remember, Home Assistant is evolving rapidly, and so is the content on GitHub. By staying connected to these resources, your smart home can continuously adapt, improve, and surprise you with its capabilities.