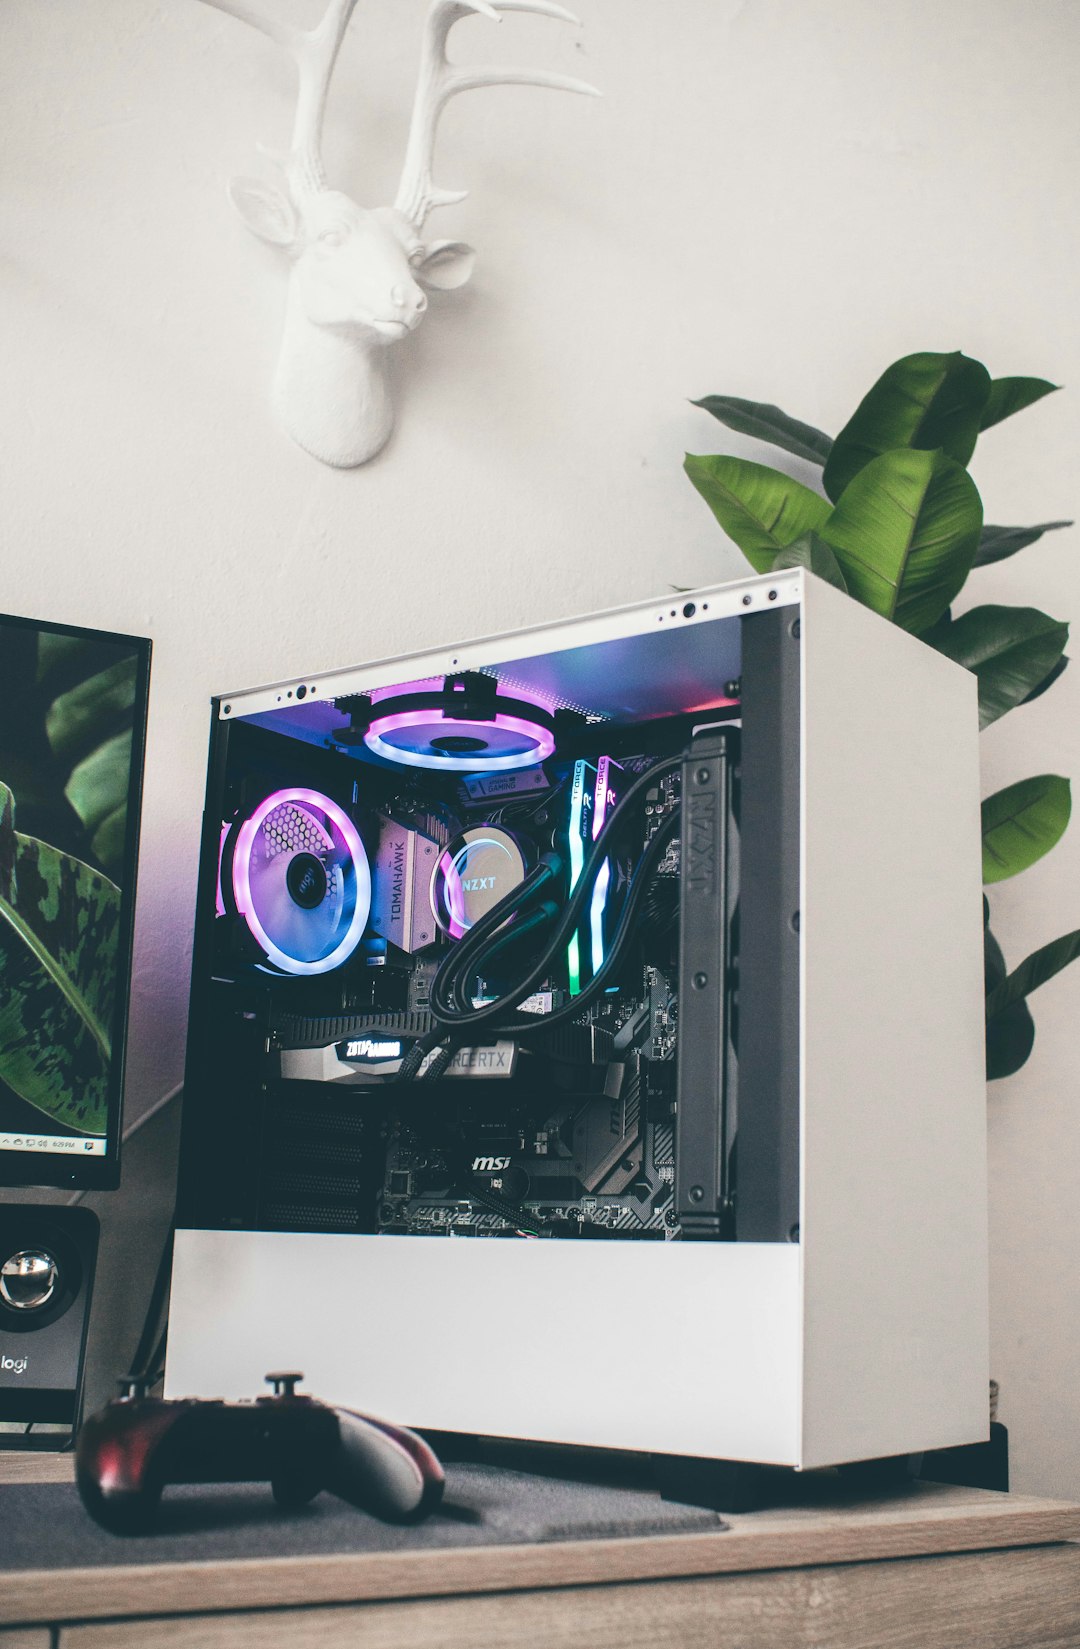
Keeping your PC case clean is essential for maintaining optimal airflow, thermal performance, and overall system longevity. The NZXT H5 (2022) is designed with user-friendly maintenance in mind, including a removable front dust filter that helps prevent dust buildup inside your system. In this guide, you will learn exactly how to remove the front dust filter safely and efficiently without damaging your case or components.
TLDR: The front dust filter on the NZXT H5 (2022) can be removed by first powering down and unplugging your PC, then carefully detaching the front panel to access the filter. The filter is secured with simple clips and can be gently pulled out for cleaning. Always handle the panel and filter with care to avoid breaking plastic tabs. Regular cleaning improves airflow and system performance.
Why Removing the Front Dust Filter Matters
Dust accumulation inside a PC case can significantly affect cooling efficiency and component lifespan. Even with high-quality fans and proper cable management, restricting airflow with clogged filters can result in higher temperatures.
The front dust filter on the NZXT H5 (2022) plays an important role:
- Prevents dust and debris from entering the system
- Improves airflow efficiency by keeping intake pathways clean
- Reduces maintenance frequency for internal components
- Helps maintain lower CPU and GPU temperatures
Routine cleaning of the filter every one to three months — depending on your environment — is highly recommended.
Tools You May Need
In most cases, removing the front dust filter on the NZXT H5 (2022) does not require special tools. However, having a few items nearby can make the process easier and safer.
| Tool | Required? | Purpose | Recommended |
|---|---|---|---|
| Phillips screwdriver | No (usually) | In case panel screws need loosening | Optional |
| Compressed air | No | Cleaning the dust filter | Yes |
| Microfiber cloth | No | Wiping dust from the panel | Yes |
| Soft brush | No | Removing stubborn dust | Optional |
Important: Always power down and unplug your PC before working on the case.
Step-by-Step: How to Remove the Front Dust Filter
Step 1: Power Down and Disconnect Everything
Before touching the case, completely shut down your computer and switch off the power supply. Unplug the power cable along with all connected peripherals.
This ensures:
- No electrical hazards
- No accidental short circuits
- No stress on cables when moving the case
If possible, move the case to a clean, well-lit workspace.
Step 2: Position the Case Properly
Place the NZXT H5 (2022) on a stable surface such as a desk or workbench. Lay it on its side if that provides easier access to the front panel.
You want clear доступа to the front section where the airflow intake is located.
Image not found in postmetaStep 3: Remove the Front Panel
The front dust filter is located directly behind the front panel. To access it:
- Grip the bottom edge of the front panel firmly.
- Apply steady outward pressure to release the plastic retaining clips.
- Work your way around the edges if needed.
Do not use excessive force. The front panel is secured with plastic clips that will pop free with consistent pressure. Pulling too aggressively or at an awkward angle could damage them.
Once detached, set the front panel aside carefully.
Step 4: Identify the Dust Filter
With the front panel removed, you will see the intake fan area and the dust filter. The filter is typically a fine mesh panel positioned directly in front of the fan mounting area.
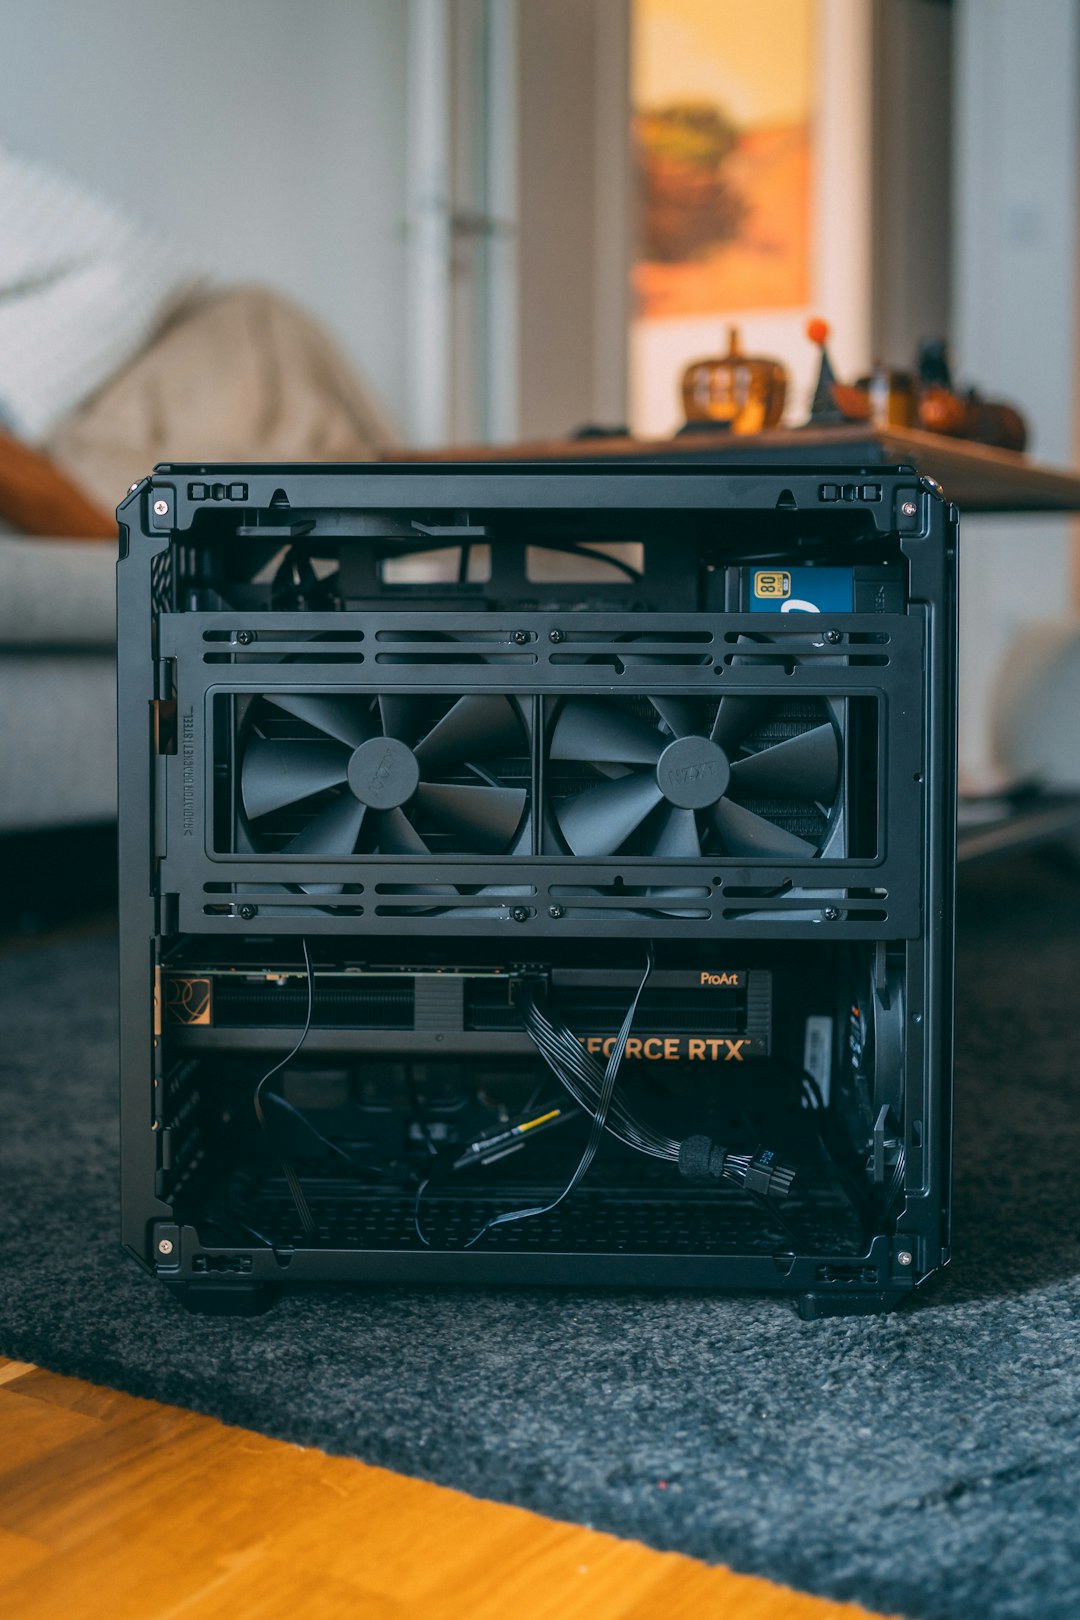
Inspect how it is attached. In the NZXT H5 (2022), the filter is usually secured either by friction fit or small clips integrated into the frame.
Step 5: Remove the Dust Filter
To remove the filter:
- Locate the tabs or pull points along the edges.
- Gently pull the filter outward.
- If resistance is felt, check for hidden retention clips and release them carefully.
The filter should slide or pop out without requiring tools.
If it feels stuck, stop and inspect rather than forcing it.
How to Clean the Front Dust Filter
Once removed, cleaning the filter is straightforward.
Method 1: Compressed Air (Recommended)
- Hold the filter away from your face and electronics.
- Blow compressed air through the mesh from the opposite side of dust accumulation.
- Continue until debris is cleared.
Method 2: Water Rinse (For Heavy Buildup)
- Rinse under lukewarm running water.
- Do not use soap unless absolutely necessary.
- Allow the filter to dry completely before reinstalling.
Never reinstall a damp filter. Moisture inside a PC case can damage components.
Image not found in postmetaReinstalling the Dust Filter and Front Panel
Step 1: Insert the Dry Filter
Align the filter with its mounting frame and gently press it back into place until it fits securely.
Step 2: Reattach the Front Panel
- Align the plastic clips with their corresponding slots.
- Press firmly around the edges.
- Ensure all corners snap back into position.
You should hear or feel the clips click into place.
Step 3: Reconnect and Test
Return the case to its normal position, reconnect all cables, and power on your computer. Confirm that intake fans are operating normally and airflow seems unobstructed.
Common Mistakes to Avoid
Even though this is a simple maintenance task, several mistakes can cause unnecessary problems:
- Forcing the front panel off at the top first instead of starting from the bottom
- Cleaning the filter while it is still installed, pushing dust deeper inside
- Reinstalling the filter while damp
- Breaking retaining clips by twisting instead of pulling straight
Take your time and inspect each step carefully.
How Often Should You Remove the Front Dust Filter?
Cleaning frequency depends heavily on your environment:
- Pet owners: Every 3–4 weeks
- Dusty environments: Monthly
- Clean, climate-controlled rooms: Every 2–3 months
If you notice:
- Increased fan noise
- Higher internal temperatures
- Visible dust buildup
It is time to clean the filter.
Professional Maintenance Tips
For users who want to optimize performance even further:
- Clean intake filters and bottom filters at the same time.
- Inspect fan blades while the panel is removed.
- Use short bursts of compressed air to avoid over-spinning fans.
- Consider maintaining slightly positive airflow pressure to reduce dust intake.
Regular preventative maintenance can significantly extend the lifespan of components such as your GPU, PSU, and motherboard.
Final Thoughts
Removing the front dust filter on the NZXT H5 (2022) is a simple yet essential part of PC maintenance. With no specialized tools required and only a few minutes of your time, you can dramatically improve airflow and system cleanliness.
By following the careful steps outlined above — powering down your system, properly detaching the front panel, gently removing the filter, cleaning it thoroughly, and reinstalling everything correctly — you ensure your build remains protected and efficient.
A well-maintained case is not just about aesthetics; it directly impacts thermal performance, component health, and long-term reliability. Make front dust filter cleaning part of your regular PC maintenance routine, and your NZXT H5 will continue performing at its best.