Visual Studio Code (VS Code) is one of the most widely used code editors in the world, valued for its speed, flexibility, and cross-platform support. For many developers, working in their native language improves efficiency, reduces misunderstandings, and enhances comfort during long coding sessions. Fortunately, VS Code allows you to change both the display language of the interface and influence the editor language mode used for syntax highlighting and code intelligence. This guide explains, in a precise and platform-independent way, how to configure these language settings on Windows, macOS, and Linux.
TL;DR: To change the display language in Visual Studio Code, install the appropriate Language Pack extension and select it through the Configure Display Language command. Restart VS Code to apply the changes. To modify the language mode for a file (such as switching from plain text to Python or HTML), use the language selector in the status bar or manually set the default language settings. Both processes are fully supported across Windows, macOS, and Linux.
Understanding the Difference Between Display Language and Editor Language
Before making changes, it is important to clearly distinguish between two concepts:
- Display Language: The language used for the VS Code user interface (menus, dialogs, settings descriptions, notifications).
- Editor Language Mode: The programming or markup language applied to a file, enabling syntax highlighting, IntelliSense, formatting rules, and debugging tools.
These two settings are independent. Changing the UI language does not alter the programming language features available in your editor, and vice versa.
How to Change the Display Language in VS Code
Changing the display language requires installing a Microsoft-provided language pack extension. The process is identical across Windows, macOS, and Linux.
Step 1: Open the Command Palette
Press:
- Windows/Linux: Ctrl + Shift + P
- macOS: Cmd + Shift + P
This opens the Command Palette, which allows you to execute internal VS Code commands quickly.
Step 2: Search for Display Language Configuration
In the Command Palette, type:
Configure Display Language
Select the option labeled:
Configure Display Language
If no language packs are installed, VS Code will prompt you to install one.
Step 3: Install a Language Pack
You will be directed to the Extensions Marketplace. Search for your desired language, such as:
- French Language Pack
- Spanish Language Pack
- German Language Pack
- Chinese Simplified Language Pack
- Japanese Language Pack
Language packs are officially published by Microsoft and clearly labeled as such. Click Install.
Step 4: Select the Installed Language
After installation, return to the Command Palette and choose Configure Display Language again. Select your newly installed language from the list.
VS Code will update the locale.json configuration file and prompt you to restart the editor.
Step 5: Restart VS Code
A full restart is required for the changes to take effect. Once restarted, the entire interface will appear in the selected language.
Manual Configuration (Advanced)
Advanced users may directly edit the language configuration file:
- Open the Command Palette.
- Type Open Locale Configuration File.
- Edit the locale value manually, for example:
{
    "locale": "fr"
}
Common locale identifiers include:
- en – English
- de – German
- fr – French
- es – Spanish
- ja – Japanese
- zh-cn – Simplified Chinese
This method is especially useful in remote environments or managed development systems.
How to Change the Editor Language Mode for a File
Changing the editor language mode affects syntax highlighting and language-specific features. This is particularly useful if VS Code incorrectly detects a file type.
Method 1: Using the Status Bar
Look at the bottom-right corner of the VS Code window. You will see the current language mode (for example, Plain Text, Python, HTML).
Click on this label.
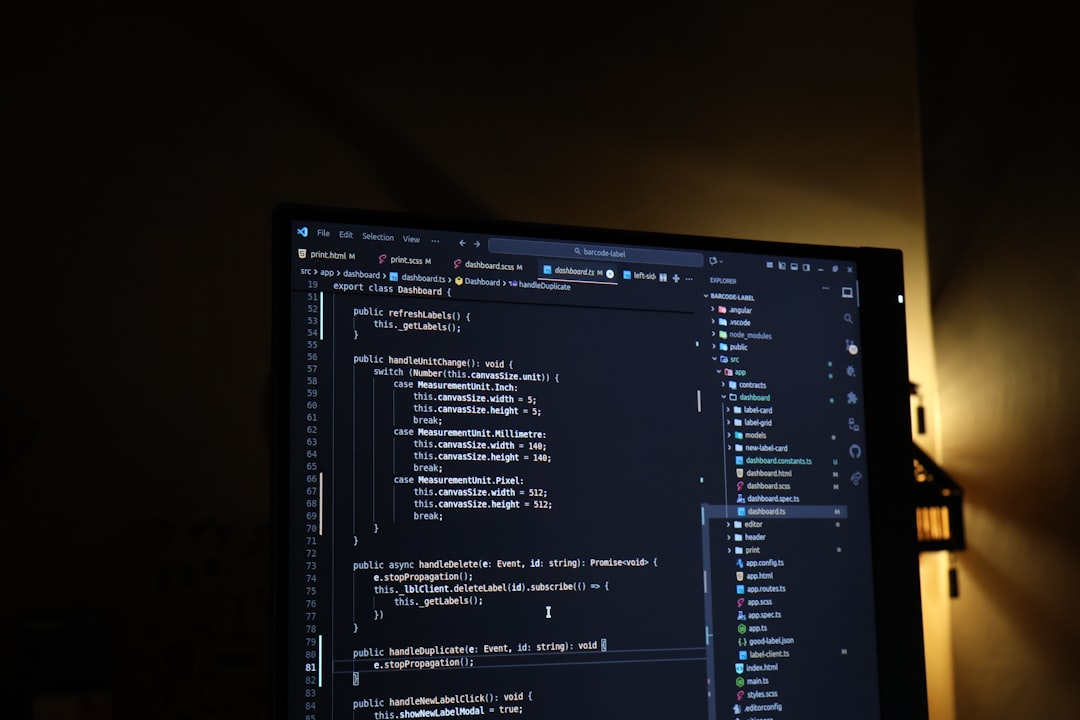
A language selection menu will appear. You may:
- Select a new language mode manually.
- Search for a language by typing its name.
- Install extensions for additional languages if needed.
The selected language mode applies only to the currently active file.
Method 2: Associate File Extensions with a Language
If VS Code consistently identifies a file incorrectly, you can define a permanent association.
Open Settings:
- Windows/Linux: Ctrl + ,
- macOS: Cmd + ,
Search for:
files.associations
Click Edit in settings.json and add an entry like:
"files.associations": {
    "*.tpl": "html",
    "*.conf": "yaml"
}
This ensures consistent behavior across projects.
Installing Additional Programming Language Support
Some programming languages require extensions for full functionality. While basic syntax highlighting may be built in, advanced features like IntelliSense and debugging are extension-based.
To install language support:
- Open the Extensions view (Ctrl+Shift+X or Cmd+Shift+X).
- Search for the programming language (e.g., Python, C++, Go, Rust).
- Install the official or widely trusted extension.
After installation, VS Code may suggest reloading the window.
Platform-Specific Notes
Windows
- Enterprise-managed environments may restrict extension installation.
- Administrative permissions may be required in corporate setups.
macOS
- Language changes behave identically to Windows.
- Ensure system permissions allow extension updates.
Linux
- Works consistently across distributions.
- Snap or Flatpak installations may isolate configuration files differently.
Despite minor packaging differences, the language configuration process remains uniform across platforms.
Troubleshooting Common Issues
Language Does Not Change After Restart
- Verify the correct language pack is installed.
- Check that the locale.json file contains the correct locale value.
- Ensure VS Code was fully restarted, not just minimized.
Extension Marketplace Is Blocked
- Download the VSIX file manually from the Visual Studio Marketplace.
- Install via Extensions > Install from VSIX.
Language Mode Keeps Reverting
- Confirm file extension associations are correctly configured.
- Disable conflicting extensions that override detection.
Best Practices for Multilingual Development Teams
In collaborative environments, it is important to maintain consistency while accommodating personal preferences.
- Allow developers to customize display language individually.
- Standardize editor extensions across the team.
- Use shared configuration files stored in version control.
- Document required extensions and language settings in project documentation.
By keeping interface language separate from project configuration, teams can remain both flexible and professional.
Conclusion
Changing the display and editor language in Visual Studio Code is straightforward and fully supported across all major platforms. Whether you are localizing the interface for personal comfort or setting precise language modes for accurate syntax support, VS Code provides reliable tools to accomplish both tasks. By understanding the distinction between interface localization and programming language configuration, you can create an optimized development environment tailored to your needs.
A thoughtfully configured editor reduces friction, improves focus, and enhances productivity. Taking a few minutes to adjust language preferences is a small but meaningful step toward a more efficient and professional workflow.