
Encountering the MPUException: No MPUs Detected error can feel alarming, especially if it appears during system startup, virtualization setup, or when launching specialized security software. Whether you’re an IT professional managing multiple machines or a home user experimenting with BIOS settings, this message typically signals a hardware recognition or configuration issue tied to the system’s Memory Protection Unit (MPU) or related processor features. The good news? In most cases, it’s fixable with systematic troubleshooting.
TLDR: The “MPUException: No MPUs Detected” error usually indicates that your system cannot detect or initialize a memory protection unit due to BIOS misconfiguration, firmware problems, incompatible virtualization settings, or hardware failure. Start by checking BIOS/UEFI settings, enabling necessary CPU features, and updating firmware or drivers. If the issue persists, verify hardware compatibility or test for physical component failure. Most instances can be resolved without replacing hardware.
Understanding the MPU and Why It Matters
An MPU (Memory Protection Unit) is responsible for enforcing memory access rules, preventing unauthorized reads and writes, and protecting critical system resources. In modern PCs, MPU-related functionality is often tied to:
- CPU virtualization extensions (Intel VT-x, AMD-V)
- Trusted Execution Technology (TXT)
- Secure boot configurations
- Embedded system firmware settings
If the operating system, hypervisor, or embedded software expects to detect an MPU and cannot, it throws the “No MPUs Detected” exception. This is essentially the system saying, “I expected security hardware features that aren’t currently available.”
Common Causes of MPUException Errors
Before applying fixes, it helps to understand what typically triggers this error. The most common causes include:
- Disabled CPU features in BIOS/UEFI
- Outdated BIOS firmware
- Virtualization disabled or misconfigured
- Operating system incompatibility
- Corrupted system drivers
- Faulty motherboard or CPU hardware
Let’s walk through how to systematically fix each potential issue.
1. Check and Enable CPU Features in BIOS/UEFI
The first and most frequent fix involves BIOS configuration. Many MPU-related functions rely on CPU features that can be manually disabled.
Steps:
- Restart your computer.
- Enter BIOS/UEFI (usually by pressing DEL, F2, F10, or ESC during startup).
- Locate CPU configuration or Advanced settings.
- Enable:
- Intel VT-x or AMD-V
- Virtualization Technology
- Trust Execution Technology (if applicable)
- Memory protection features
- Save changes and reboot.
If these features were disabled, enabling them often resolves the issue immediately.
2. Update Your BIOS or Firmware
Outdated firmware frequently causes hardware detection problems. Modern processors receive security updates that improve MPU and virtualization detection.
Why This Works
New BIOS versions:
- Improve CPU compatibility
- Fix hardware detection bugs
- Patch firmware vulnerabilities
How to Update Safely
- Visit your motherboard manufacturer’s website.
- Download the latest BIOS update for your exact model.
- Follow official instructions carefully.
Warning: Interrupting a BIOS update can permanently damage your motherboard. Always ensure stable power.

3. Verify Virtualization Compatibility
If you’re seeing this error while running:
- VirtualBox
- VMware
- Hyper-V
- Proxmox
Then compatibility between your CPU, OS, and virtualization platform may be the root cause.
Things to Check
- Does your CPU support virtualization?
- Is Hyper-V conflicting with other hypervisors?
- Are virtualization drivers up to date?
Quick Fix
If using Windows:
- Open “Turn Windows features on or off.”
- Disable Hyper-V temporarily.
- Restart the system and test.
Conflicting hypervisors can prevent proper MPU detection.
4. Update or Reinstall System Drivers
Corrupted chipset or processor drivers can interfere with hardware recognition.
Steps:
- Open Device Manager.
- Expand “Processors” and “System Devices.”
- Right-click and update drivers.
If problems persist, uninstall and reinstall drivers from the manufacturer’s support page.
5. Reset BIOS to Default Settings
Overclocking, custom voltage tweaks, or experimental settings may disrupt MPU detection.
How to Reset:
- Enter BIOS.
- Choose “Load Optimized Defaults.”
- Save and reboot.
This simple reset often reverses configuration conflicts.
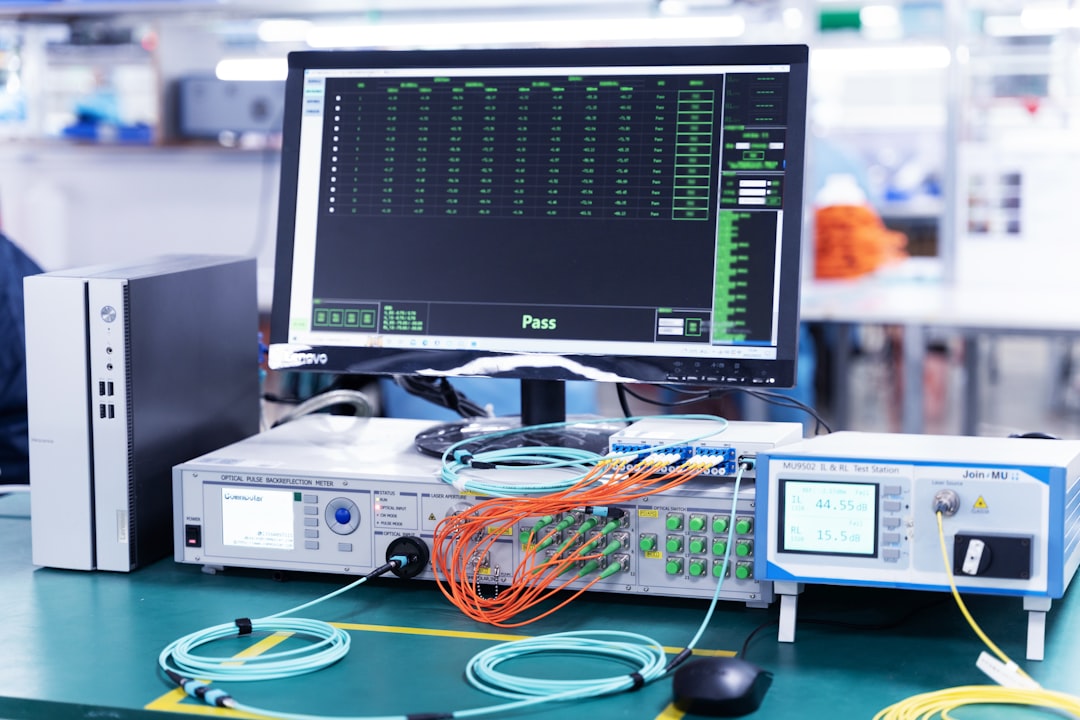
6. Run Hardware Diagnostics
If software fixes fail, hardware may be partially defective.
- Run built-in motherboard diagnostics (if available).
- Use tools like MemTest86 for RAM testing.
- Check CPU health with stress-testing software.
A failing CPU or motherboard can prevent proper MPU initialization.
Tool Comparison Chart
If you’re troubleshooting, several tools can help identify the source of the MPUException. Here’s how they compare:
| Tool | Best For | Difficulty Level | Cost |
|---|---|---|---|
| BIOS Utility | Enabling CPU features, resetting defaults | Intermediate | Free |
| Device Manager | Updating processor and chipset drivers | Beginner | Free |
| MemTest86 | Detecting faulty RAM | Intermediate | Free |
| CPU-Z | Verifying CPU feature availability | Beginner | Free |
| Manufacturer Firmware Tool | Updating BIOS safely | Advanced | Free |
Advanced Fixes for Enterprise Environments
In enterprise systems or embedded platforms, the issue can be deeper.
Check:
- Secure boot certificates
- TPM initialization status
- Group policy restrictions
- UEFI boot mode vs Legacy mode
Improperly deployed firmware images or security policies in managed IT environments often trigger MPU errors during provisioning.
When Hardware Replacement Is Necessary
If you’ve:
- Updated BIOS
- Reinstalled drivers
- Reset configuration
- Tested memory
And the error still appears — especially across operating systems — your motherboard or CPU could have a defective memory controller.
Signs of hardware failure:
- Random reboots
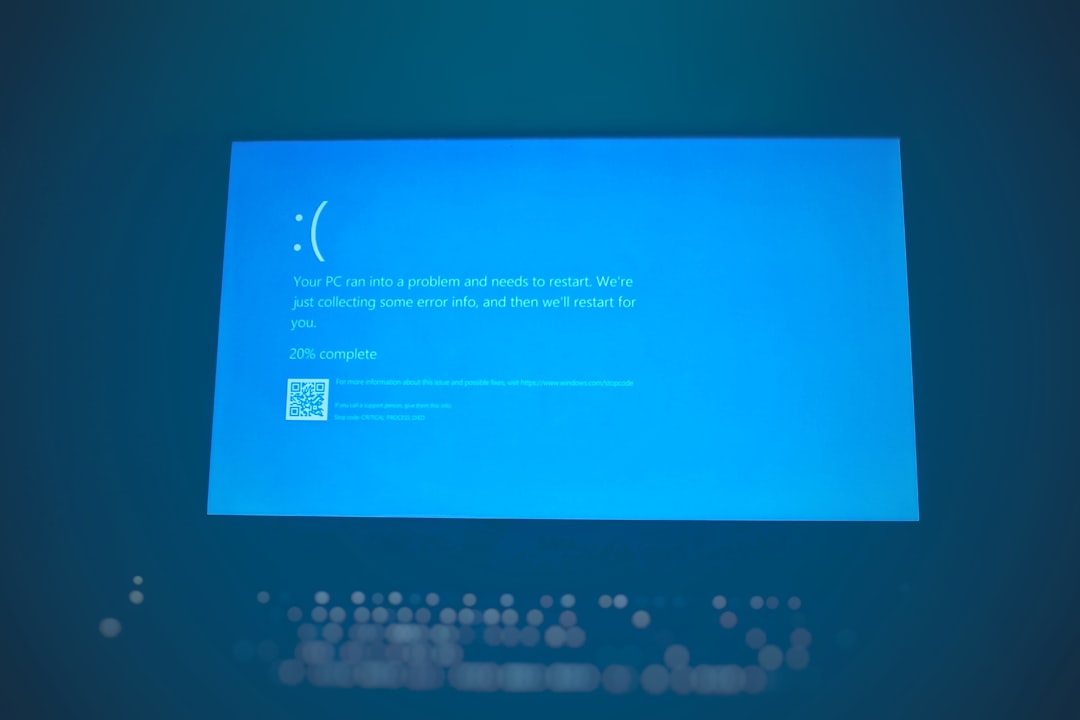
- Blue screen errors
- System freezing under load
- Inability to enable virtualization at all
In these cases, professional diagnostic services or component replacement may be required.
Preventing MPUException Errors in the Future
Once resolved, take preventive measures:
- Keep BIOS firmware updated.
- Avoid unnecessary overclocking.
- Maintain stable power conditions.
- Update drivers regularly.
- Ensure OS compatibility with your hardware.
Routine maintenance dramatically reduces the likelihood of hardware detection errors.
Final Thoughts
The MPUException: No MPUs Detected error may appear severe, but it’s often rooted in configuration or firmware misalignment rather than catastrophic hardware failure. By systematically checking BIOS settings, ensuring virtualization support is enabled, updating firmware, and verifying drivers, most users can resolve the problem quickly and safely.
Modern systems rely heavily on integrated security and memory protection features. When those features aren’t properly initialized, the system alerts you — sometimes dramatically. Treat the error not as a failure, but as a diagnostic clue guiding you toward better system configuration and security optimization.
With a calm, step-by-step approach, you’ll likely have your system recognizing its MPUs again in no time.