
Classroom communication is important. In a digital world, managing student communication can be tricky — especially when everything is online. One great tool teachers use is Gmail, in combination with Google Classroom. It’s powerful, free, and simple. But to really make it work, you need to know how to manage it well.
This guide will show you how to keep communication clear and organized using Gmail and Google Classroom. We’ll keep things light, fun, and super easy to follow!
Why Communication Matters
When students and teachers stay connected, learning becomes better. Misunderstandings? Gone. Missed homework? Not anymore. Clear communication helps everyone win.
But to make this magic happen, you need some structure. Let’s start building that together!
Step 1: Set Clear Rules from Day One
Imagine walking into a silent disco. You’d want to know the rules, right?
Do the same with your online classroom. Make sure your students know how to reach you and when.
- When to email: Office hours, weekdays only, etc.
- How to email: Include subject lines, use polite greetings.
- What is urgent and what can wait: Teach them to be mindful.
You could even create a fun “Email Etiquette” poster to share in the first week.
Image not found in postmeta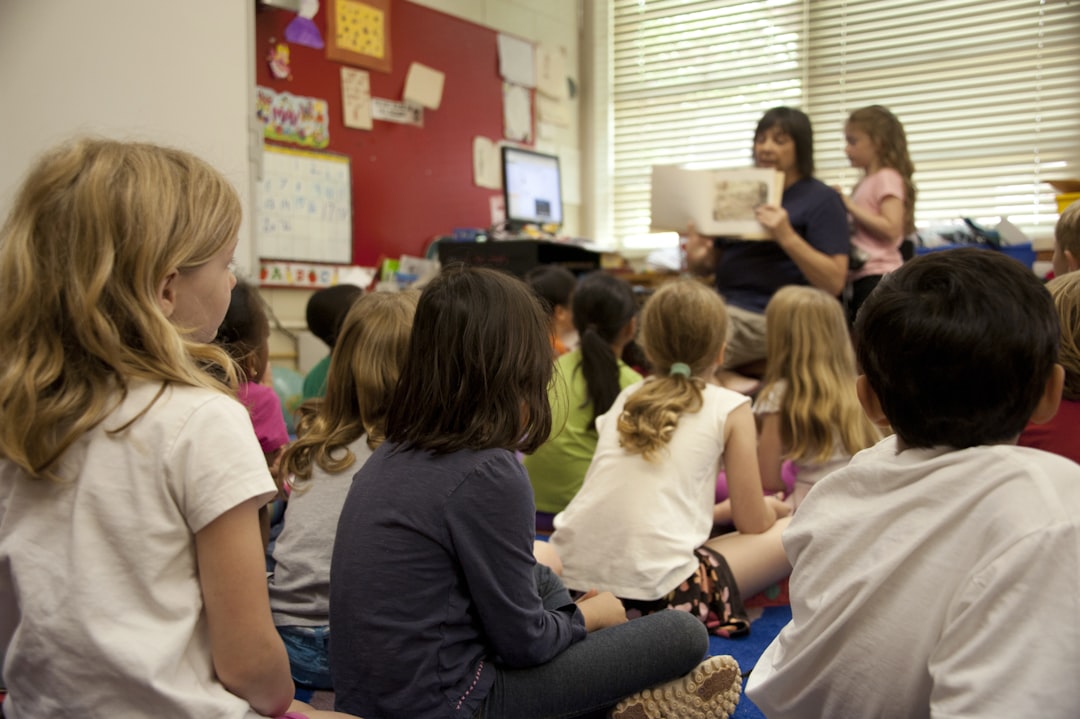
Step 2: Use Gmail Filters
Let’s face it — inboxes get messy. Gmail filters are your best friend here.
They help you sort emails before they even land in your inbox. Cool, right?
Here’s how to do it:
- Go to your Gmail settings (gear icon in the top right).
- Click on “Filters and Blocked Addresses.”
- Create a new filter with things like “From: student@example.com” or “Subject includes: Homework”.
- Choose what happens to that email: Label it, star it, mark as important, or send it to a separate folder.
Bonus Tip: Add a label called “Student Messages” and auto-label all student emails. This way, they never get lost.
Step 3: Link Gmail with Google Classroom
Gmail and Google Classroom are like peanut butter and jelly. They go together perfectly.
Here’s how they work together:
- Every time a student sends a private comment on an assignment, you get an email.
- You can reply right from Gmail (no need to open Classroom all the time!).
- Notifications help you stay updated on late work, questions, or missing assignments.
To make things smoother, check your Classroom notification settings:
- Go to your Google Classroom homepage.
- Click the three lines (aka hamburger menu) in the top left.
- Scroll down to “Settings.”
- Turn on or off the email notifications you want.
Less spam, more focus. That’s the goal!
Step 4: Teach Students to Use Gmail Properly
Don’t assume students know how Gmail works. Show them!
Run a short mini-lesson on Gmail basics:
- How to write an email
- Using proper grammar and tone
- Adding a subject line
- Respecting email timings (not midnight, please!)
Make it fun — maybe even turn it into a mini quiz or scavenger hunt in class.
Image not found in postmeta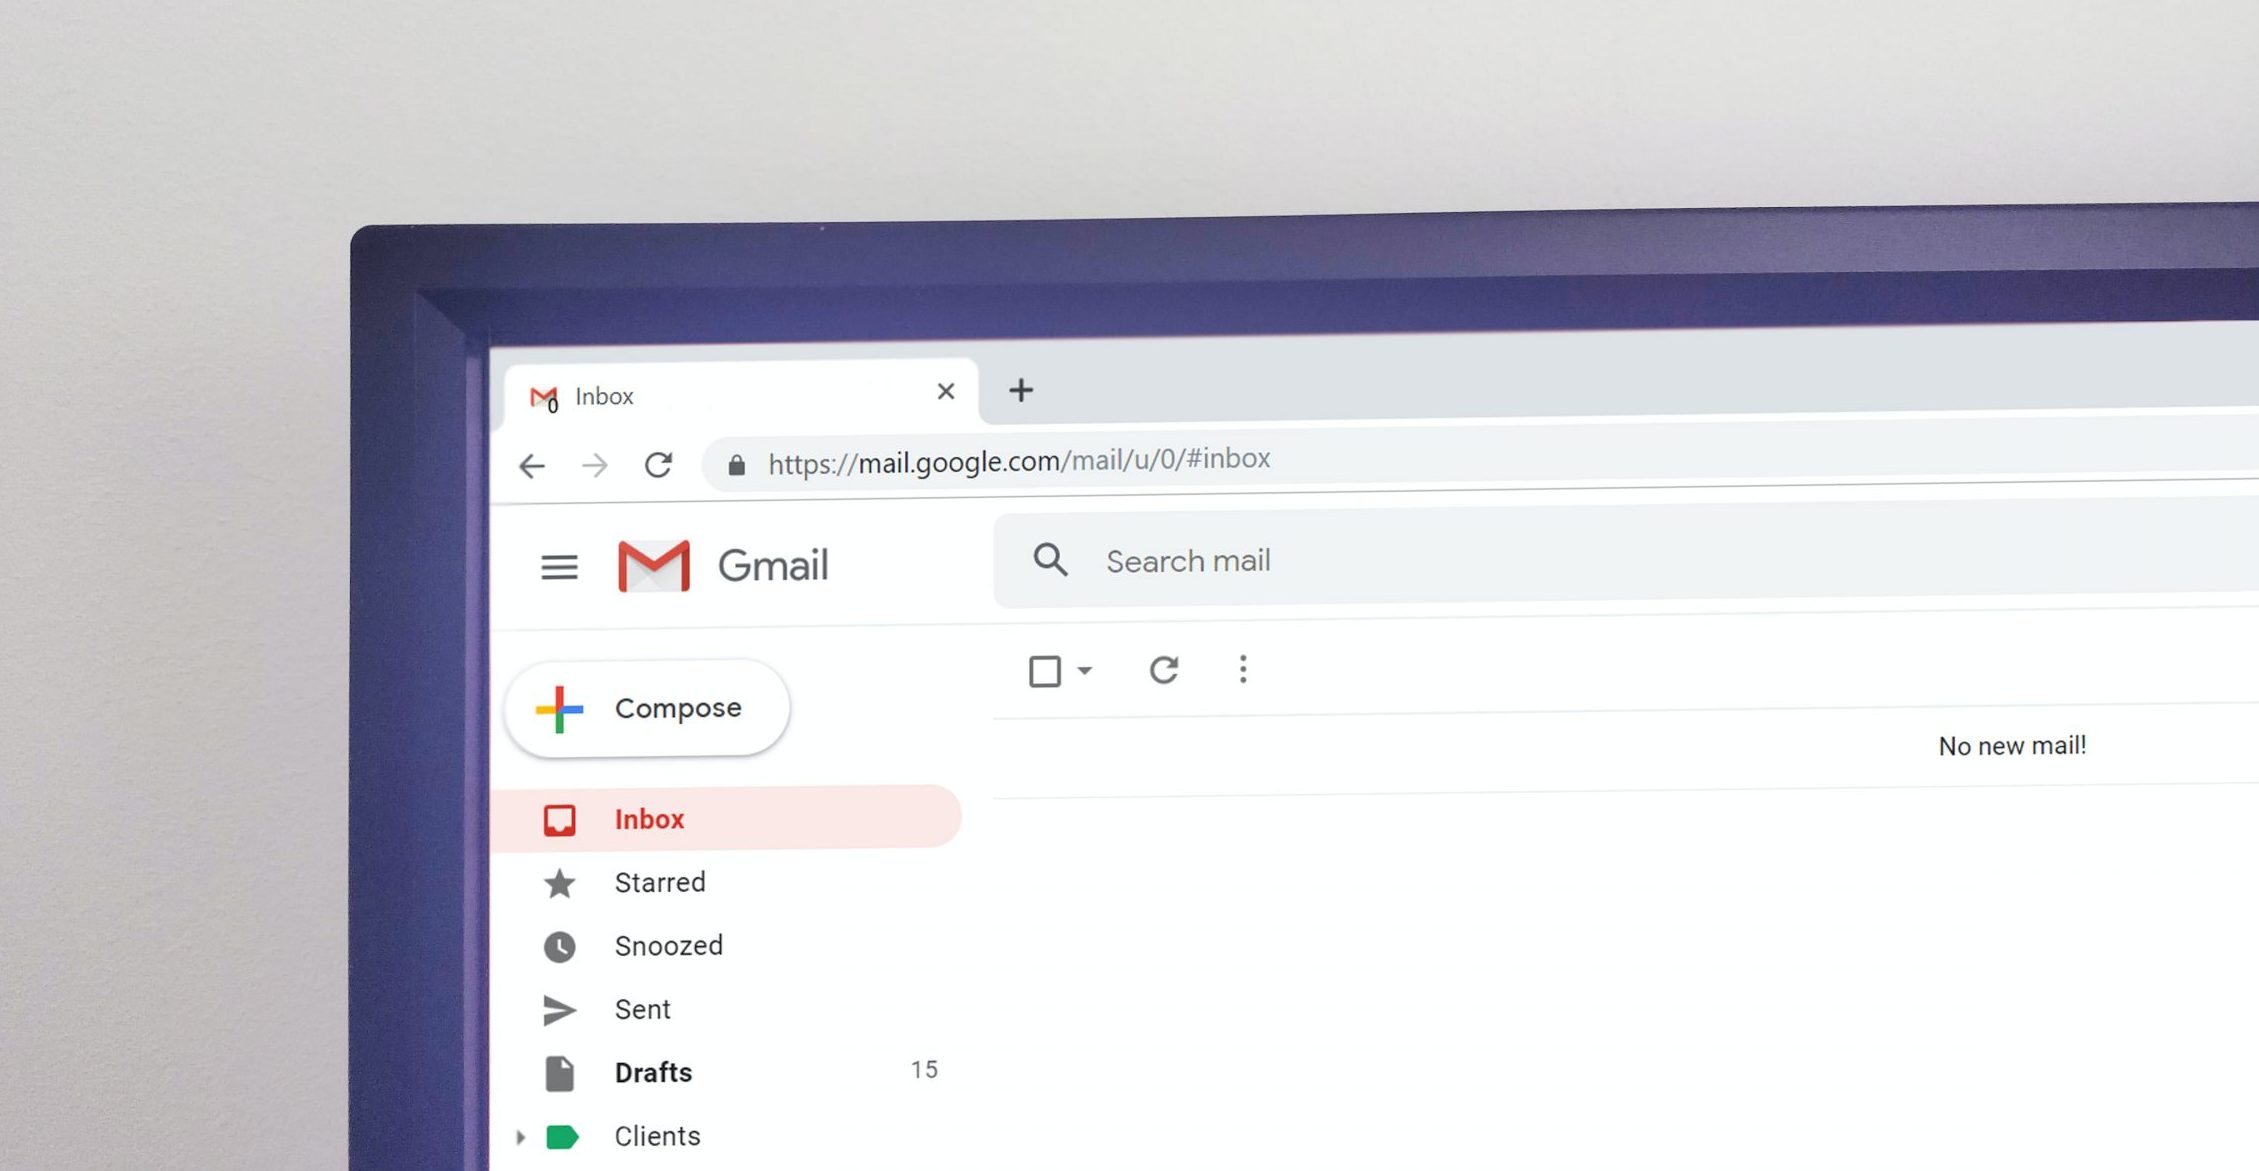
Step 5: Use Canned Responses
You know that 5th student who just asked the same question for the 3rd time?
Yep — time to bring out Gmail’s magic tool: Templates (formerly called Canned Responses).
This lets you write a reply once and reuse it whenever needed.
To enable Templates:
- Go to Gmail settings
- Click on “Advanced”
- Enable “Templates” and save
Now, compose a few common replies:
- “Thanks for your question; here’s how to find the assignment.”
- “Please check the rubric shared in Classroom.”
- “Let’s talk during class about this.”
When needed, just hit “Templates” while composing and insert it. Boom! Time saved.
Step 6: Use Labels Like a Pro
Imagine your inbox as a giant backpack. Without folders, things get lost!
Gmail labels are like colorful folders that help you group and find emails quickly.
Create labels like:
- “Student Questions”
- “Parent Emails”
- “Late Work”
Then use filters (remember Step 2?) to auto-label emails based on sender or subject.
This keeps your inbox clean and your brain happy.
Step 7: Set Gmail Signature
Want to look like a pro? Add a custom Gmail signature.
This could include:
- Your name and subject taught
- A friendly message like, “Thanks for reaching out!”
- Optional: a link to your classroom site
To do this:
- Go to Gmail settings
- Under the “General” tab, scroll to “Signature”
- Create your message and save changes
Students will appreciate the consistency. And it makes your emails look great!
Step 8: Avoid Email Overload
You’re doing great, but don’t let Gmail stress you out. Set boundaries!
Try these helpful habits:
- Check email only twice a day
- Use Out-of-Office replies during holidays
- Mute threads that get noisy (Gmail has that too!)
Remember, your time matters too.
Extra Tips for Gmail Mastery
- Use the Star feature for important messages
- Drag emails into labels for quick organizing
- Schedule emails to be sent later — perfect for reminders!
And of course, keep things fun! Add emojis, keep your tone friendly, and celebrate the small wins with your students.
In Summary…
Managing student communication doesn’t have to be hard or boring. With Gmail and Google Classroom, you’ve got all the tools you need.
Just remember:
- Set expectations early
- Use filters, labels, and templates
- Reply kindly and clearly
- Protect your time
The more you automate and organize, the more you focus on what truly matters — helping students learn and grow.
Image not found in postmeta
Now go forth and conquer your inbox like the classroom hero you are!