As remote work, online meetings, livestreaming, and virtual content creation continue to thrive, many individuals are seeking higher-quality video solutions without breaking the bank. While built-in laptop webcams tend to offer mediocre video quality, many modern smartphones feature high-resolution cameras that can deliver a professional-grade image. Fortunately, it’s entirely possible to repurpose your smartphone as a webcam, providing not only better resolution but also improved flexibility in framing, depth, and focus.
This guide walks you through the process of using your phone as a webcam across various platforms, covering both iOS and Android devices, along with Windows or macOS computers. Whether you’re working remotely, attending virtual classes, or building your livestream setup, this step-by-step article will help you unlock the full potential of your devices.
Why Use Your Smartphone as a Webcam?
Your smartphone’s camera is vastly superior to most built-in or even standalone webcams under $100. Using a phone not only provides better picture quality but can also make you look more professional on video calls, webinars, and streams.
Benefits include:
- High quality: Most smartphones have front or rear cameras capable of recording 1080p or even 4K video.
- Portability: Phones are more compact and easier to position in creative ways.
- Cost-effective: Utilizes devices you already own without needing to buy an expensive external webcam.
Before we begin, it’s important to ensure your phone is charged, and that you have access to a stable internet connection or USB cable for a wired connection. Now, let’s dive into the setup process.
What You Will Need
- A smartphone (Android or iOS)
- A computer (Windows or macOS)
- Phone mount or tripod (optional but recommended)
- USB cable or access to WiFi
- Webcam app for your phone and computer drivers (detailed below)

Choosing the Right App
Several reputable apps allow you to use your phone as a webcam. These apps typically offer both mobile and desktop components. Below are some of the most reliable and user-friendly options:
1. EpocCam (iOS & Android)
- Compatible with Zoom, Microsoft Teams, Skype, and OBS
- Free and Pro versions available
- Allows wireless or wired connections
2. DroidCam (Android & iOS)
- Highly popular for Android users
- USB, WiFi, and browser-based connections supported
- Offers basic free features and paid upgrades
3. Reincubate Camo (iOS and Android)
- Professional-level features with impressive camera controls
- Freemium version with watermark; premium for full resolution and features
- Focused on creators and business professionals
Step-by-Step: How to Set Up Your Phone as a Webcam
Here’s a general guide to setting up your phone, based on the use of DroidCam, though the steps are similar for other apps too.
1. Install the App on Your Phone and Computer
Go to the App Store or Google Play to download the corresponding mobile app. Then, visit the developer’s website to install the desktop client for your system.
2. Choose Between USB or WiFi Connection
- USB Connection: Offers stable video transmission and avoids battery drain. For Android, you may need to enable USB Debugging under Developer Options.
- WiFi Connection: Convenient but may result in more lag. Ensure both your phone and computer are on the same network.
3. Open Both Apps
Launch the app on your smartphone and the desktop client. On the desktop app, input your phone’s IP address or choose USB. Confirm connection settings to enable the video feed.
4. Mount Your Phone
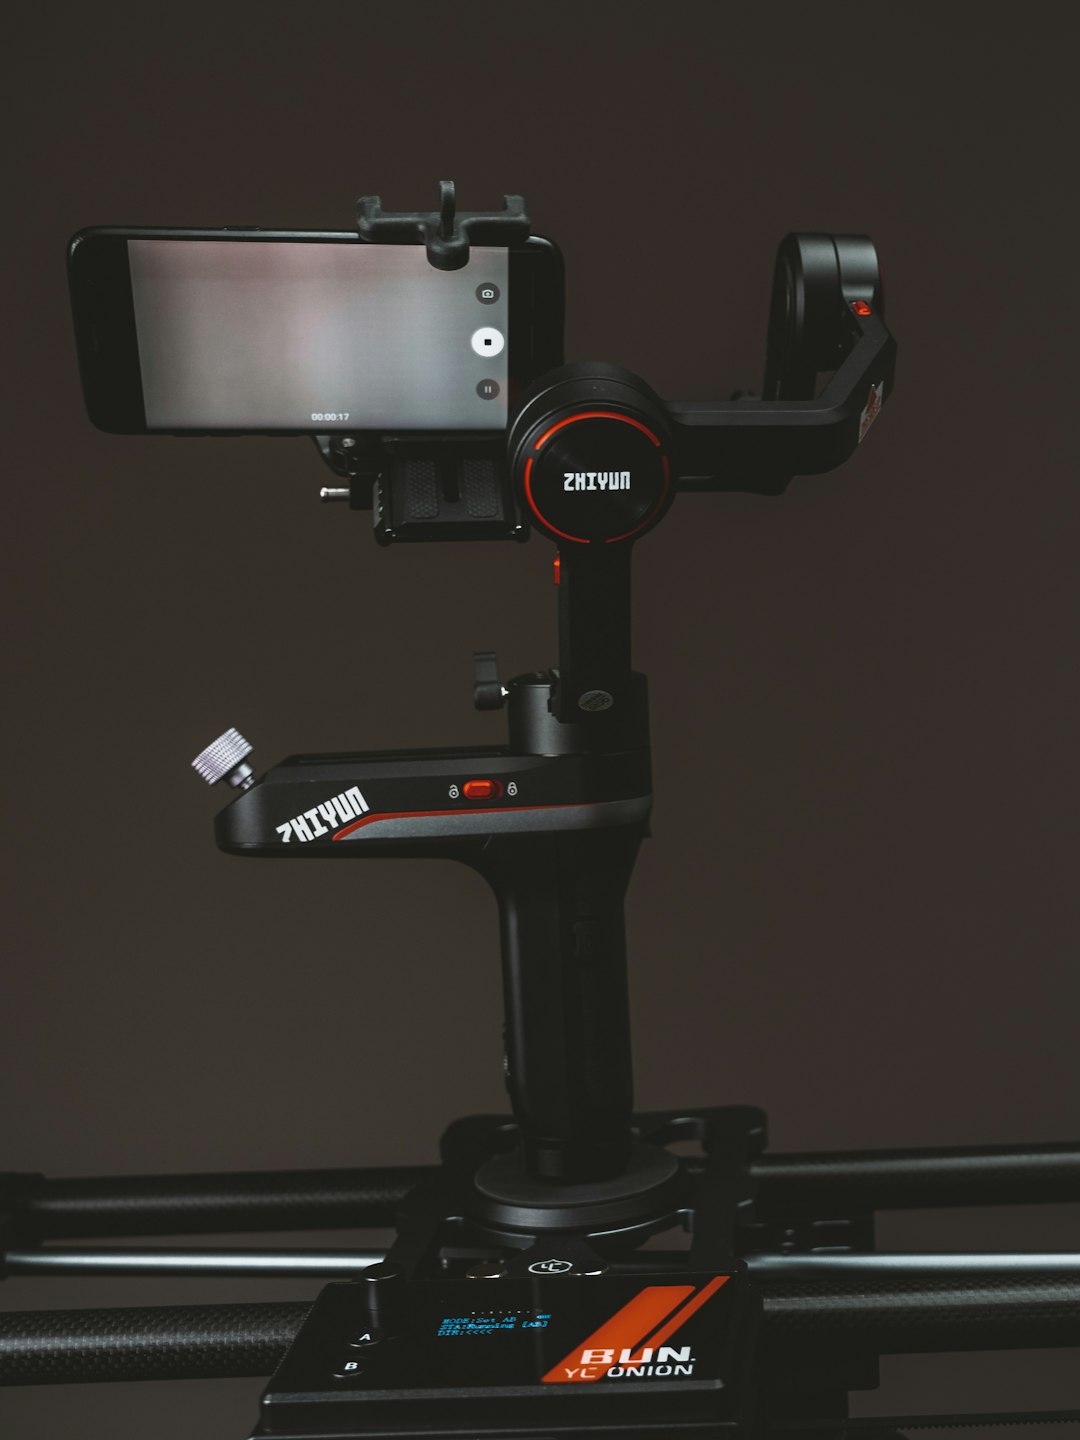
Place your phone on a tripod, stand, or phone holder to keep it steady during use. Using the rear-facing camera will often result in better quality but may make framing harder.

5. Select the Camera in Your Video Apps
Open your preferred video conferencing or recording software (such as Zoom, OBS, or Skype) and select your phone’s webcam app (such as “DroidCam Source”) as the video input source.
Tips for Best Results
Now that you’ve gotten your webcam setup running, keep the following practical tips in mind to enhance video quality and reduce technical issues:
- Stabilize your phone to avoid shaking video. A tripod or clamp helps greatly.
- Use good lighting to ensure a clear, bright image. Natural light or a ring light works well.
- Use rear camera if possible, as it’s typically sharper than the front-facing one.
- Close unused apps on your phone to preserve CPU performance.
- Plug in your phone if you’re recording or streaming for long periods to prevent battery drain.
Comparison: Smartphone Webcam vs. Traditional Webcam
To help determine whether using a smartphone is the right choice for you, here’s a quick assessment comparing smartphones with traditional webcams:
| Criteria | Smartphone Webcam | Traditional Webcam |
|---|---|---|
| Video Quality | Very High (1080p to 4K) | Moderate to High |
| Setup Complexity | Requires Installation | Usually Plug and Play |
| Flexibility | Highly Adjustable | Some Flexibility |
| Cost | Free to Low | Mid to High Range |
Troubleshooting Common Issues
If you’re having trouble with the setup or video feed, here are a few common issues and how to resolve them:
- Lag or Delay: Switch from WiFi to USB for a more stable connection.
- No Video Appearing: Ensure both mobile and desktop apps are on the same network and updated. Check firewall settings.
- Not Recognized in Zoom/Skype: Restart video conferencing software after launching webcam apps.
- Orientation Issues: Use the rotation lock on your phone and adjust angles manually.
Conclusion
As webcam demands skyrocket due to work, education, and content creation moving online, turning your phone into a webcam can be an effective, cost-saving solution. Equipped with the right apps and setup, your smartphone can easily outperform many standalone webcams while giving you added flexibility and visual clarity.
Whether you’re tuning in for a high-stakes virtual interview or pursuing your livestreaming passion, don’t underestimate the power of the camera in your pocket. With minimal effort, your smartphone can become a key part of your professional-grade home studio.
Remember to experiment with lighting, angles, and apps to find what setup works best for your needs. By mastering this setup, you’ll ensure that every virtual interaction reflects the quality and professionalism you want to present.